
Print areas
Print areas and on-photo personalisation are part of AddOnBoss Pro.
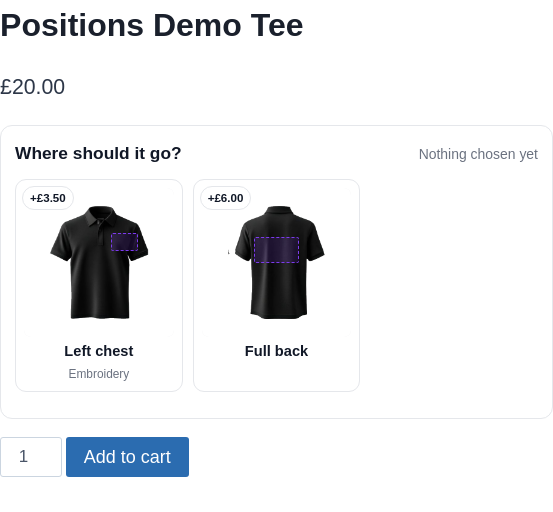
When a product is printed or embroidered, where the design goes matters, and often each place costs a different amount. A left-breast logo is cheaper than a full back print. Print areas let a customer place a logo or a line of text exactly where it goes, see it on your own product photo, and pay the price you set for that spot.
How print areas work
Section titled “How print areas work”A print area is a named spot on a photo, like Left chest, Full back or Sign face. It is stored as a fraction of the picture, so it sits in the right place on any product and at any size.
A set carries its own design photos, the pictures your print areas are drawn on. A garment that prints front and back is two photos, and each print area records which one it sits on. There is no separate list of “sides” to keep: the photos live on the set, and the customer always sees the spot marked on a real picture.
Build a set of print areas
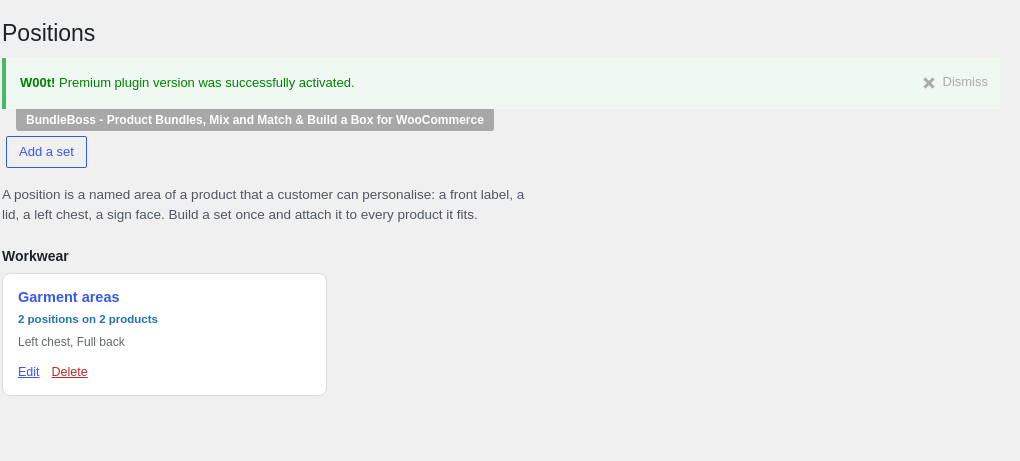
Section titled “Build a set of print areas”Print areas live in their own reusable library, the same way option sets do, so you build a set once and attach it to every product that shares it.
- Open the Print areas library and add a set, "Garment print areas" for example.
- Add the set's design photos. Pull in a typical product's pictures or upload your own, and label each one (Front, Back, a sleeve).
- Add each print area. Give it a name, mark on the photo where it goes, choose which design photo it is drawn on, and set how it is priced.
Every print area is drawn on a real photo, never a blank box, so what you mark is where the design will actually print.
A photo per view
Section titled “A photo per view”A garment’s back is not on its front, so a set can hold more than one design photo. Give it a Front and a Back, and each print area picks the one it sits on with a Drawn on choice. On a product, those photos map to the product’s own pictures, so the same set fits a black tee and a white one without any extra work.
How a print area is priced
Section titled “How a print area is priced”Each print area is priced one of two ways:
- One-off for the order. A flat charge for that placement, however many the customer buys.
- Per item. The charge is added to every piece on the line.
Where a placement is priced by how big the print is, a print area can carry a printed width, so the charge follows the size of the design rather than a flat figure.
A print area can take an uploaded image or logo, or typed text, so the same set covers “print my logo here” and “print this name here”. Where you offer more than one typeface or colour, the customer picks from those on the print area too.
See it before they buy
Section titled “See it before they buy”Text a customer types is drawn onto your product photo live, so they see the finished thing before it goes in the cart. What they saw is captured with the order, so whoever prints the job works from the same picture.
Attach it to a product
Section titled “Attach it to a product”Attach a print areas set on the product’s Product Options panel. Two controls sit at the top: the heading the customer reads (it defaults to “Personalise it”), and How it appears, which shows the block as a card on the page, a bar that opens when clicked, or a button that opens a panel. On a phone, a slim Add to cart follows the customer down a long block so the button is never out of reach.
Change one product without touching the set
Section titled “Change one product without touching the set”Because the set is shared, most products use it as it stands. Where one product needs a different price or a moved print area, you can override a print area on that product alone. The product’s panel shows plainly which print areas come from the set and which you have changed for this product, with a way to reset any change back to the set default. So a single premium line can charge more for a back print without disturbing the shared set every other product uses.
A print area a product cannot show (one drawn on a photo the product does not have, and carrying no picture of its own) is listed in the panel’s audit with the reason, so nothing is offered that cannot be printed.
Where the choice goes
Section titled “Where the choice goes”The chosen print area, its wording and any uploaded artwork land on the cart line, the order and the pick list, so whoever prints the job knows exactly where the design goes and at what size.