
Several files on one WooCommerce product
Front and back artwork in one upload box, sent with the order. Five steps, no code.
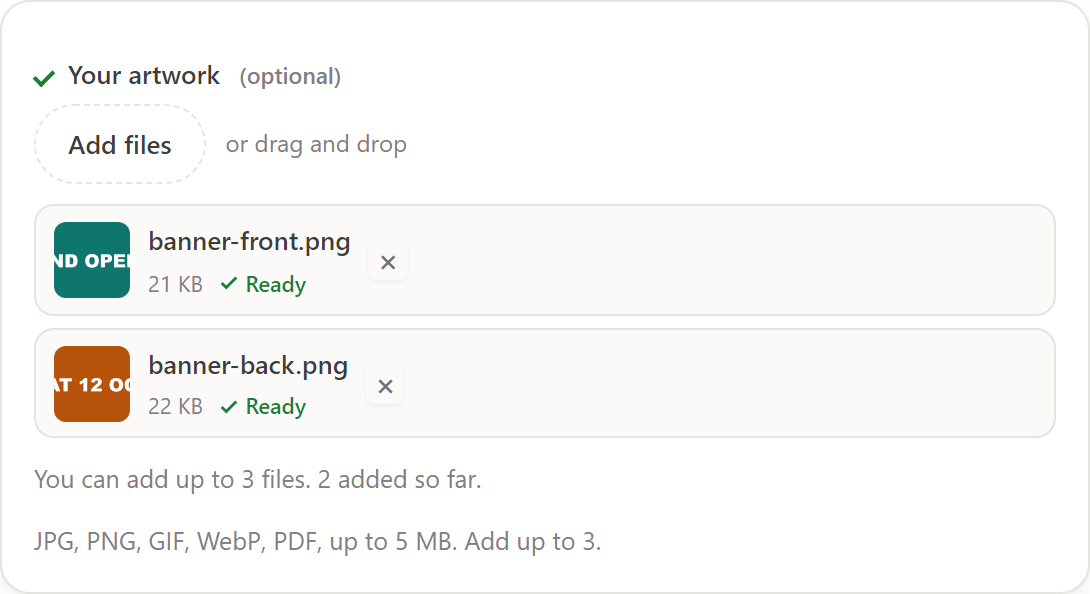
Set it up
You need AddOnBoss Pro. File upload is one of its field types.
In Products, edit the product and click the Product options tab.
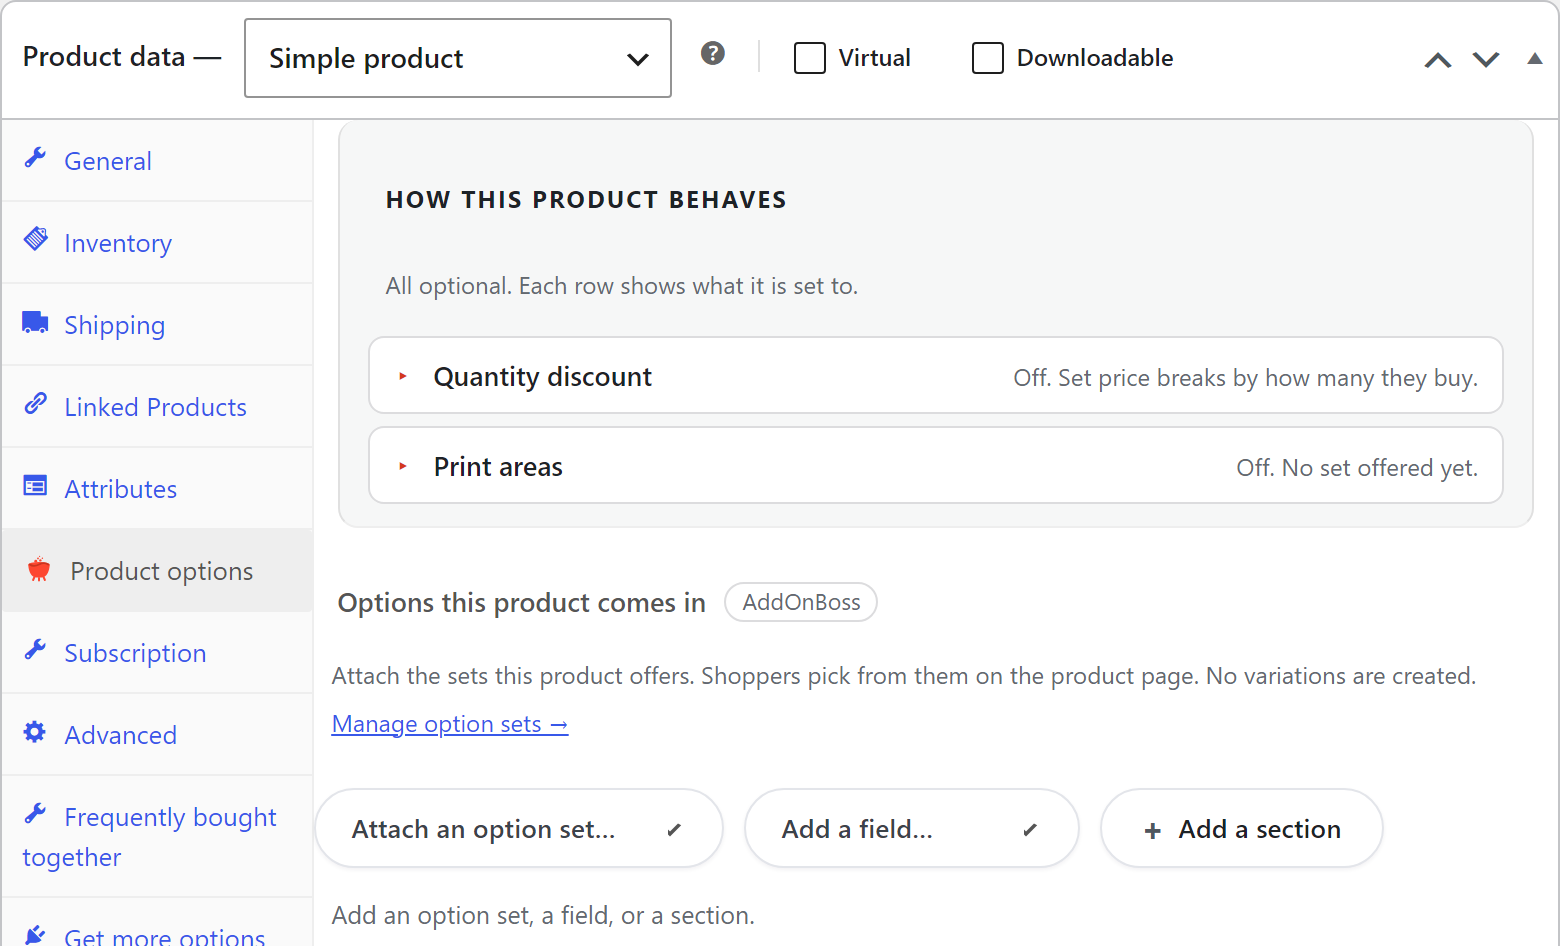
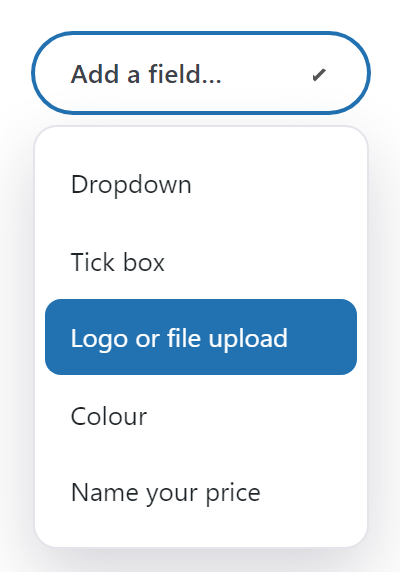
Click Add a field, then choose Logo or file upload.
Type the label your customer will see, such as Your artwork.
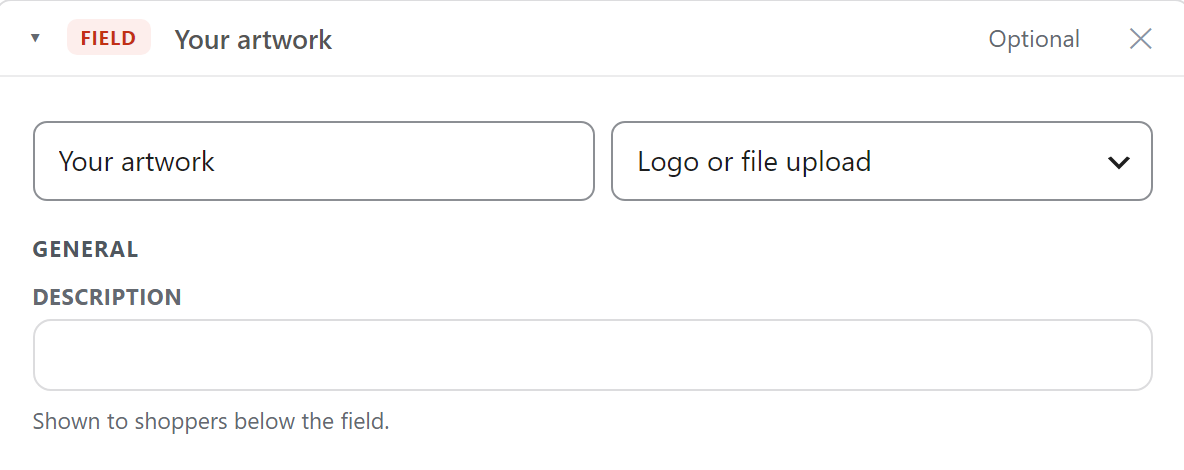
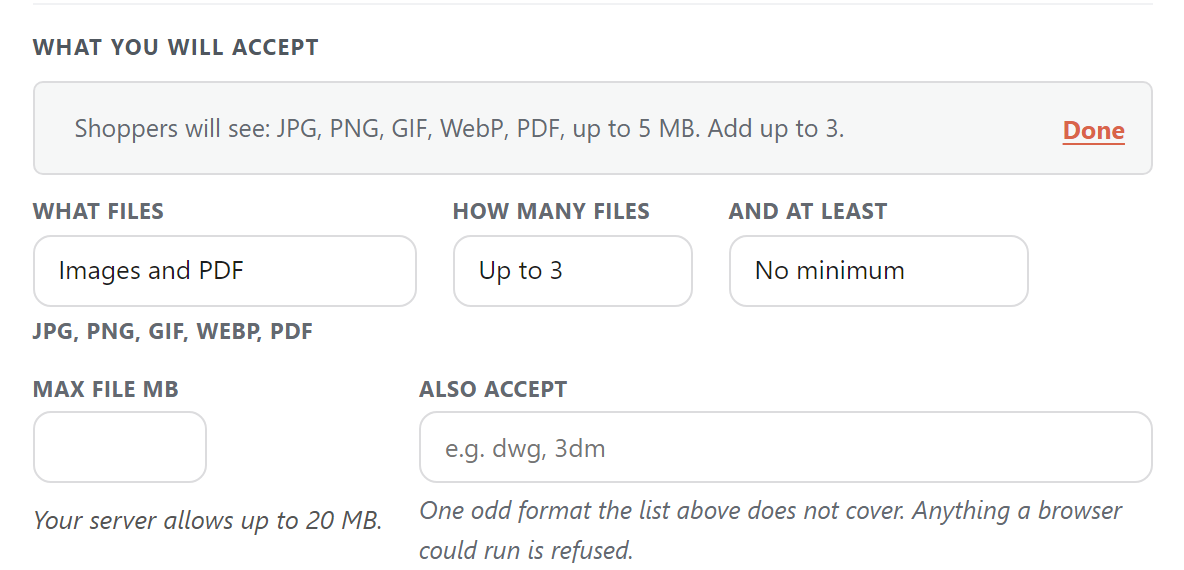
Under What you will accept, click Edit, then choose how many files in How many files.
And at least sets a minimum when the job needs every file. What files sets the file types, and Max file MB caps the size.
Click Update. The upload box is now on the product page.
Where the files go
- On the order and the pick list, next to the customer's other choices.
- Every file on an order downloads as one zip.
- They can be attached to your new-order email and renamed by order number.
Common questions
Can WooCommerce take a file upload on its own?
No. Core WooCommerce has no upload on the product page, so you need a product options plugin. File uploads are part of AddOnBoss Pro.
Can the upload show only when it is needed?
Yes. Give it a rule such as "Show when Finish is Printed" and it stays off the page until the customer picks a printed finish. Show and hide rules are in the free plugin.
What about my customers' privacy?
Uploaded files are covered by WooCommerce's own personal data export and erase tools, so when you erase a customer's data, their files go with it.
All the settings: file and artwork uploads documentation.